DIY Charcuterie: How to Create Your Own Artisan Cheese Tray


Getting Started with Your Artisan Cheese Tray
Creating your own DIY charcuterie board is not only a delightful culinary adventure but also a feast for the senses. Whether you're hosting a cozy gathering or indulging in a solo treat, an artisan cheese tray offers a perfect blend of flavors and textures. Let's dive into the essentials of crafting a beautiful and delicious cheese platter.

The first step in assembling your cheese tray is selecting a variety of cheeses. Aim for a balance of flavors and textures with a mix of soft, semi-soft, and hard cheeses. Popular choices include Brie, Gouda, and aged Cheddar. Don't forget to consider different milk types, such as cow, goat, and sheep, to add another layer of complexity to your board.
Adding Complementary Elements
Once you've chosen your cheeses, it's time to enhance your platter with complementary items. Fresh fruits like grapes, figs, or apple slices add a touch of sweetness and juiciness. Consider dried fruits such as apricots or cranberries for a chewy texture and rich flavor.

Nuts are another excellent addition, offering a satisfying crunch. Walnuts, almonds, and pecans are great options that pair beautifully with most cheeses. To add a savory kick, include olives or pickles. These briny treats can cut through the creaminess of the cheese, providing a delightful contrast.
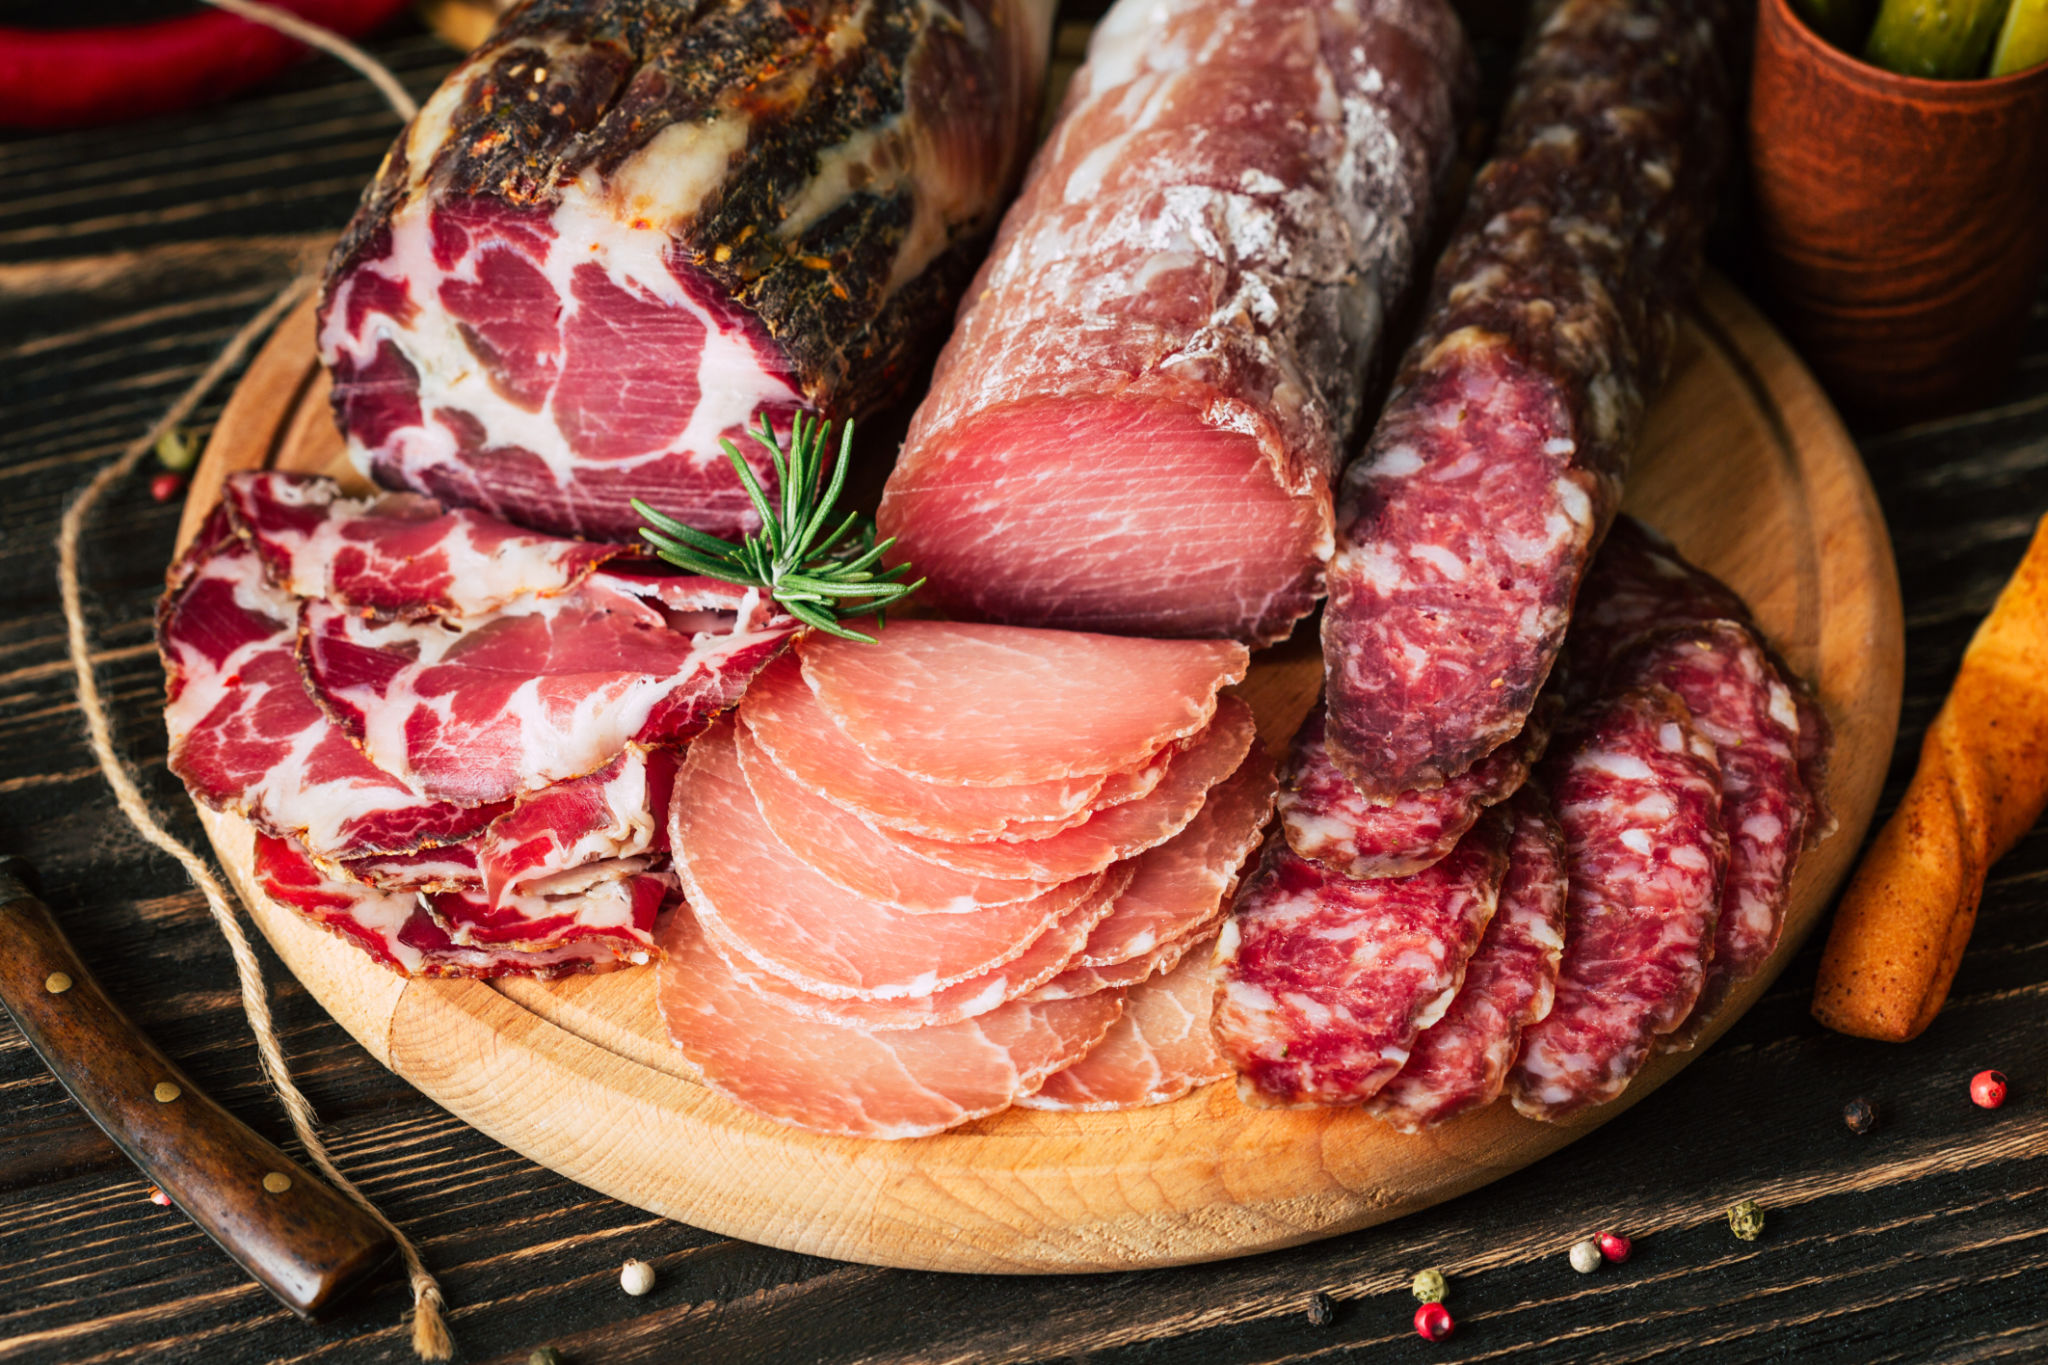
Incorporating Meats and Bread
Charcuterie wouldn't be complete without some savory cured meats. Prosciutto, salami, and chorizo can elevate your cheese tray to new heights. Arrange them artfully around the cheeses to create visual interest and easy access for guests.
Bread and crackers are essential components of any cheese tray. A variety of options like baguette slices, crispy breadsticks, or seeded crackers will ensure there's something for everyone's taste. Don't be afraid to experiment with flavored options such as rosemary or black pepper crackers to add an unexpected twist.
Presentation Tips for a Stunning Display
The visual appeal of your cheese tray is just as important as the taste. Arrange your ingredients on a large wooden board or slate for a rustic touch. Start with the cheeses, then layer in meats and other accompaniments, allowing colors and shapes to guide your layout.
Use small bowls for items like olives or jams to keep them contained and add height to your display. Fresh herbs like rosemary or thyme can be tucked in for a pop of color and aroma.

Finally, provide proper utensils such as cheese knives and forks to make serving easy for guests. With these simple steps, your DIY charcuterie board will not only taste amazing but also impress with its stunning presentation.
Creating your own artisan cheese tray is an opportunity to explore flavors and delight your senses. With a thoughtful selection of cheeses and accompaniments, plus a touch of creativity in presentation, you'll have a show-stopping centerpiece for any occasion.